How to publish an app on the Apple Store? That's what we'll cover in this article!
The App Store hosts 750,000 apps and represents 28% of the market. Its main strength lies in its relatively upscale audience, with users willing to pay for quality games or tools.
Faced with these potential consumers who have strong purchasing power, it's natural to want to develop your app for iOS. It's an opportunity to generate significant revenue, but also to promote your business or gain new customers.
So, how to publish an app on the Apple Store? The answer in 8 key steps!
1) Create an Apple Developer account
This guide assumes that you have already created and developed your iOS app and that you are preparing to publish it. But if you need help developing your iOS app, you can hire a freelance Swift developer who can take care of developing or finishing your app. Now let's move on to publishing your iOS app on the Apple Store.
An Apple developer account costs $99 per year. If you want to distribute an app within your company, you need to join the Apple Developer Enterprise Program, which costs $299/year.
However, to answer the question "How to publish an app on the Apple Store?", we will focus on the "standard" Apple Developer account.
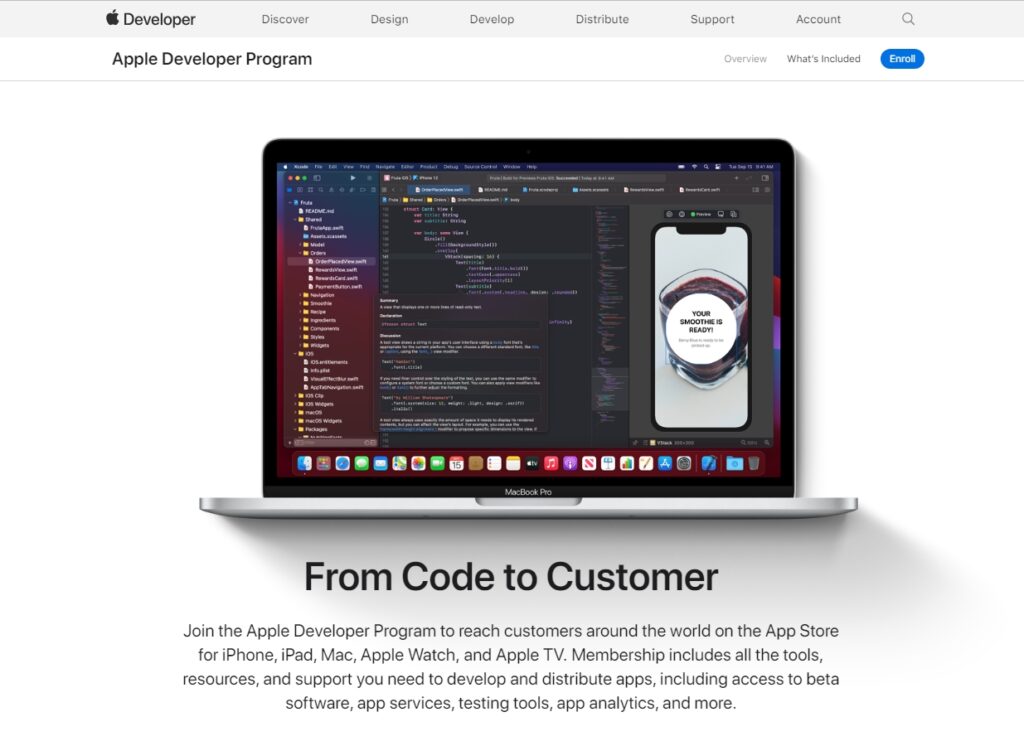
- Go to this link to register, then click "Enroll".
- You can sign in with your Apple ID if you already have one. If not, create one.
- Accept the terms before selecting the program to join. You will have the choice between:
- The Individual ProgramThe apps you publish will appear under your name. It's the perfect choice if you're a freelancer or the owner of a very small business. It will allow you to manage your image.
- The Organizations programTo publish on behalf of your company, you'll need to choose this option. However, you must have your D-U-N-S Number. Prepare this step in advance, as the process takes several weeks…
Note that there is also a program reserved for government organizations. - Fill in the requested information. Don’t be surprised if Apple shows a "Company / Organization" field even though you selected the individual program. Just enter your first and last name there.
At the end of the process, be sure to:
- Accept the terms of use
- Verify billing information
- Join the "iOS Developer Program"
- Click "Add to cart" then pay for your subscription
After payment, allow about 24 hours for your Apple Developer account to be activated. Once it's validated, you'll get access to App Store Connect. This lets you manage and submit your apps.
2) Gather important information before publishing on the App Store
When you submit your app, Apple will ask you for information and details about it. The goal is to build the product listing that appears on the store.
The following elements are therefore essential to capture users' attention and ensure a large number of downloads. And you should think about them BEFORE entering the app submission process!
The app name
As we have already mentioned, theThe App Store is a very busy marketplace It hosts 2.2 million apps. In such a sea of software, it can be hard to stand out.
The solution: start by giving it an original, evocative name! Another approach is to use the keyword that best matches your app. This best practice has a direct impact on Apple's algorithm.
Here are some tips for writing this short but very important name:
- Keep it simple, catchy, and easy to understand.
- Communicate your app’s main purpose.
- Do not exceed 30 characters.
- Avoid imitating or copying a competitor’s name.
- Do not use special characters, registered trademarks, or celebrity names. (Your app may never be approved).
Subtitle and description
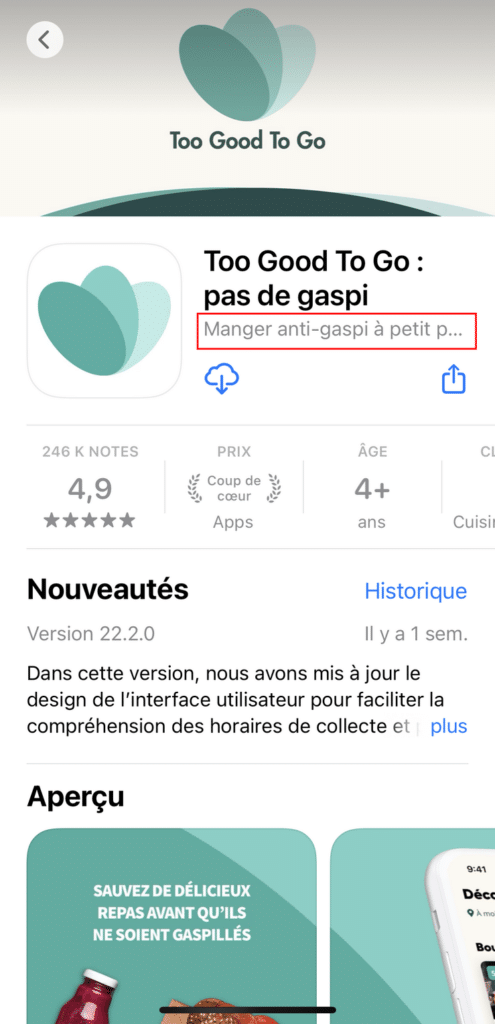
Located just below the app name, the subtitle provides additional information about your app. It should be simple and, above all, very short. Only the first 3–4 words are visible on iPhone! So get straight to the point…
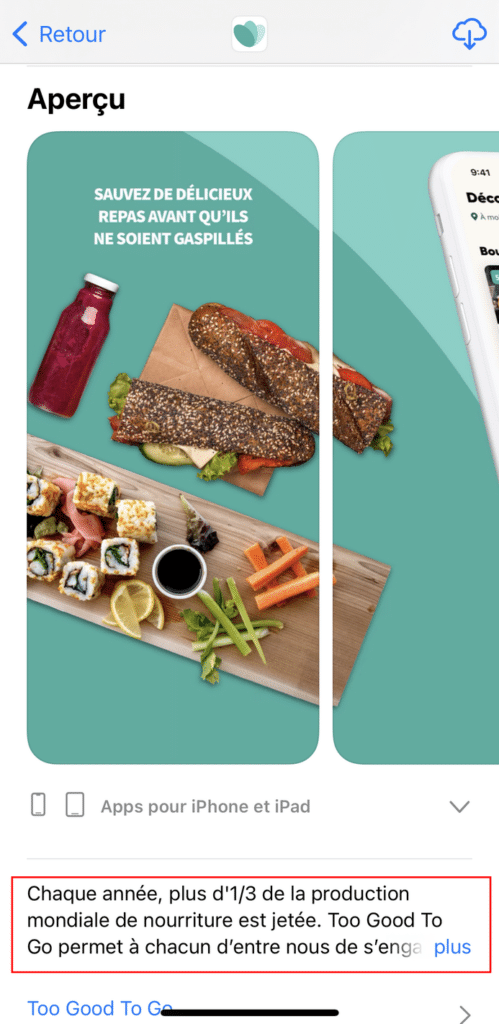
The description, located under the screenshot gallery, allows you to detail your product further. Polish the first line, because it appears before the “More” link. In the rest of the text, you can summarize your app's main features, then list its benefits.
Here are some other quick tips to optimize the description:
- Don’t be too promotional or pretentious: avoid taglines like "the best app…".
- Make sure to address your target audience using their tone and jargon.
- Use your keywords naturally. Don’t over-optimize.
- Be factual when presenting the strengths and features of your app.
The icon
The icon is the first thing your users see in the App Store search resultsThis prime position requires special care. It's advisable to pay attention to its aesthetic and visual design.
Here are the technical aspects the icon must meet:
- Size: 1024 x 1024 pixels (no rounded corners)
- Format: PNG
- Colors: sRGB/P3
Also make sure that the icon is:
- Use a color scheme that matches the message you want to send and your audience. For example: green for natural themes, red for energy or urgency, blue for healthcare, black or gray for technology…
- Explicit: the design must convey a message.
- Consistent with your brand identity and style guide if you are a company.
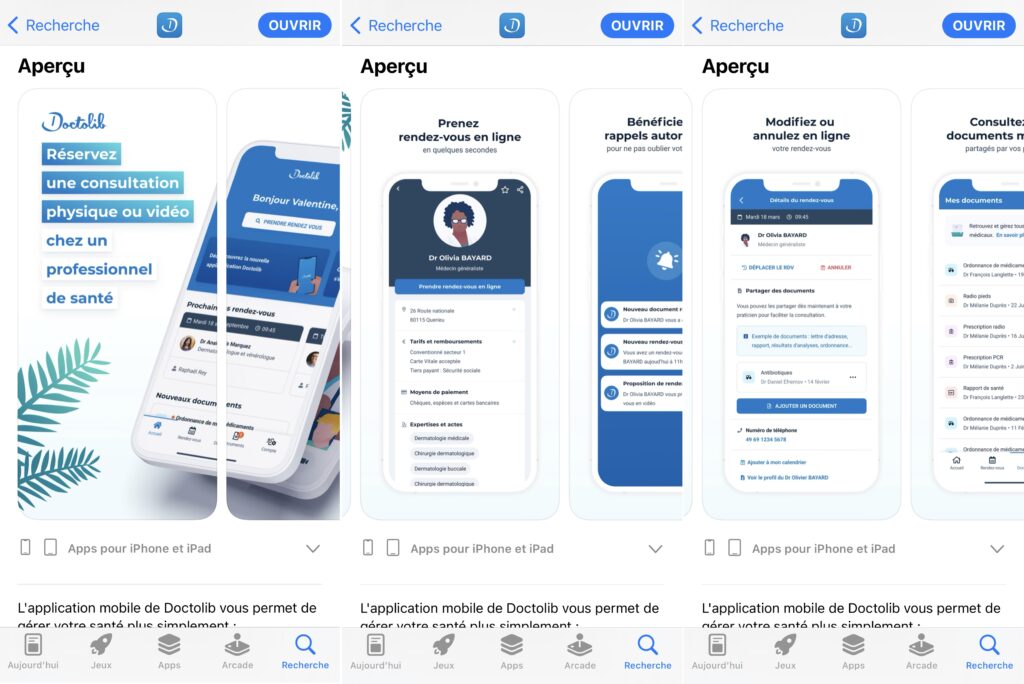
Screenshots
To publish an app on the Apple Store, you will need to upload at least one screenshot.
However, you can (and it is recommended that you) upload up to 10 visuals. Ideally, the first three screenshots should highlight the purpose your app fulfills and its added value. The others will showcase its distinctive features, as in this example:
Category
Apple allows you to add up to two categories for your app: a primary and a secondary.
Your primary category is the most important for being identified and discovered on the App Store. So when users browse the store or filter search results, your app will appear in that category.
Consider your app’s purpose: what does it allow users to do? Save money, increase productivity, track health, be entertained, make purchases… From the answer, you can easily find the appropriate classification.
Keywords
Here’s a unique section in the App Store: the “keywords” field. This field is private and does not appear on your app’s listing. Its role is to position you for users based on the queries they type into the search bar.
You must choose them carefully to improve your visibility with a qualified audience. Here are some tips to fill this field optimally:
- List keywords related to your SEO strategy: these are the ones your buyers normally use.
- Also think about keywords related to your audience's search intent.
- Strike the right balance between competing for popular terms (where you may rank low) and ranking highly for lesser-known terms.
- Avoid using celebrity names, brand terms, or other protected words and phrases.
The link to customer support
To publish an app on the Apple Store, you must provide a support URL for users with questions. On that page they can contact you through several means: form, email, phone, social media, live chat…
If you want your app to be approved, make sure you appear available and offer potential customers different ways to ask their questions.
Good to know: this link will only appear to users who have purchased your app.
Copyrights
You must include the name of the owner who holds the exclusive rights to the app, preceded by the year they obtained those rights.
Age rating
Have you considered your app’s accessibility for children and teenagers? When you access the age rating page, you will be asked questions about the type of content in your app.
The answers will determine your app’s age rating:
- 4+: no objectionable content.
- 9+: content may be unsuitable for children under 9.
- 12+: may contain elements inappropriate for children under 12.
- 17+: this app may contain elements inappropriate for children under 17.
3) Create your Bundle ID
This is about creating your app’s identity card. On the Apple Developer Program:
- In the left-hand menu, go to the "Certificates, IDs & Profiles" section.
- Under "Identifiers", click "App IDs".
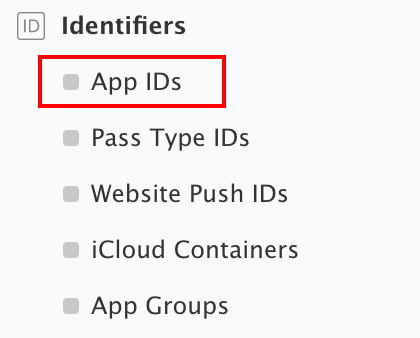
- To add your app, click the "+" button at the top right.
- Fill in the requested information.
- In the "App ID Description" field, enter the name of your app. Note that this is not necessarily the official name that will appear on the App Store. It is your identifier. You can choose your personal name, your company name, or any other term.
- In the "Bundle ID" field, enter a unique identifier. It must be formatted like this: com.[your-organization-name].[your-app-name].
- In the App Services section, choose "Associated Domains".
If your app includes notifications, also check "Push Notifications".
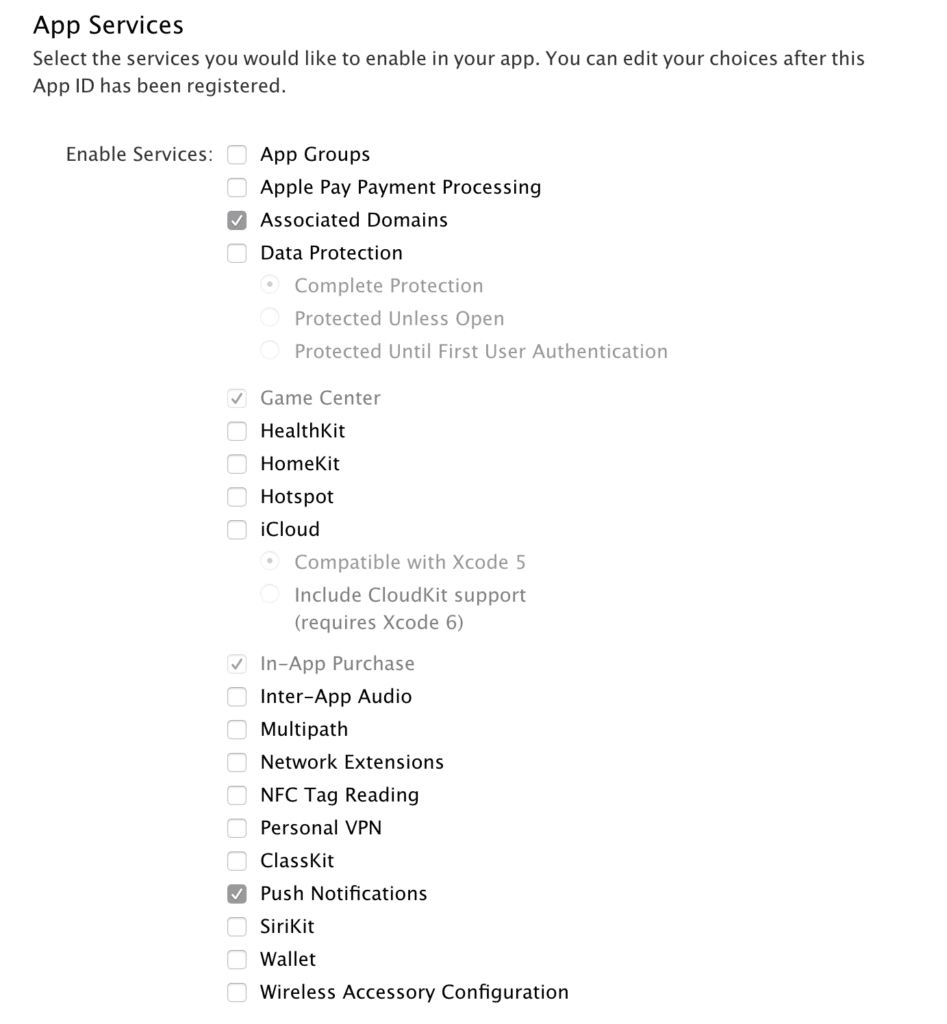
And there you go! You have created your app’s identity card.
4) Create the provisioning profile
How to publish an app on the Apple Store? By generating your iOS provisioning profile, again through your developer account.
- In the "Certificates, Identifiers & Profiles" section, go to "Provisioning Profiles".
- Choose "Distribution" and click the "+".
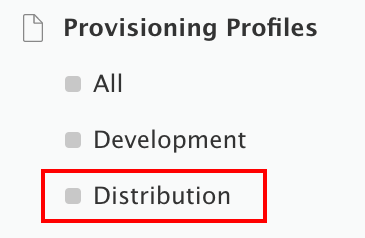
- Select "App Store" and locate your ID.
- Choose your certificate, then download and save the generated provisioning profile.
Once this file is ready, you can upload it to your personal area to generate the IPA.
5) Request a signing certificate
Requesting a certificate is necessary to link your computer to your Apple developer account. How do you do it?
- On your macOS device, open "Keychain Access", then click the certificate assistant and "Request a Certificate From a Certificate Authority".
- Fill in the requested information.
- Click "Done." You will receive the certificate by email.
6) Install the certificate
As soon as you have obtained your signing certificate, you must install it on your Mac to link your apps to your developer account.
- Go to the Apple Developer portal, "Certificates" section.
- Click the "+" at the top right.
- Go to "Production", then "App Store" and "Ad Hoc".
- Download the signing request and the certificate.
- Install the certificate on your computer by double-clicking it.
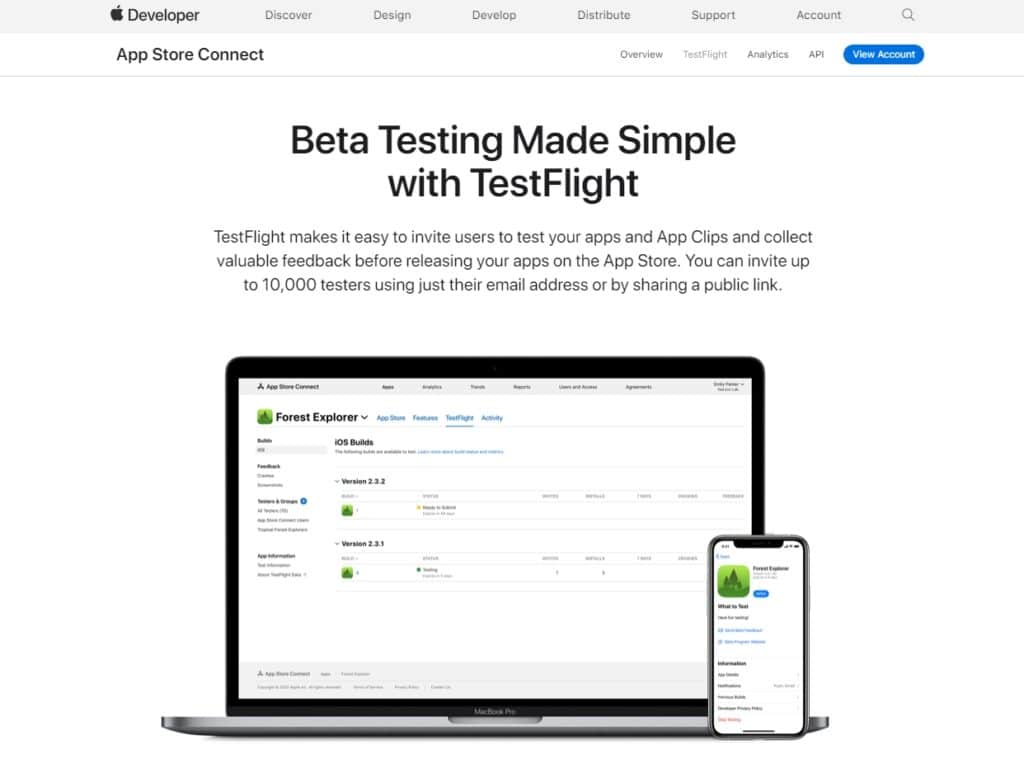
7) Test your application
Now that everything is ready, it is recommended to test your app before submitting it to Apple. Go to TestFlight ! This platform helps you gather your beta testers and collect feedback in order to fix bugs and improve the user experience.
If your app is intended for iPad and iPhone, be sure to test it on both types of devices. Although Apple’s smartphone and tablet models have a narrow range, there are still some screen differences. Your app must not be pixelated or unreadable on certain devices…
Once you have run several tests and your app is completely finished, it’s time to submit it to Apple.
8) Publish your app on the App Store
We have reached the final step of our tutorial: submitting your app! Go to iTunes Connect:
- Click "My Apps", then the "+" button in the top left corner.
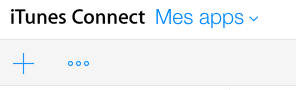
- From the context menu, select "New App".
- In the dialog box, select the platform(s) on which you want to distribute your app.
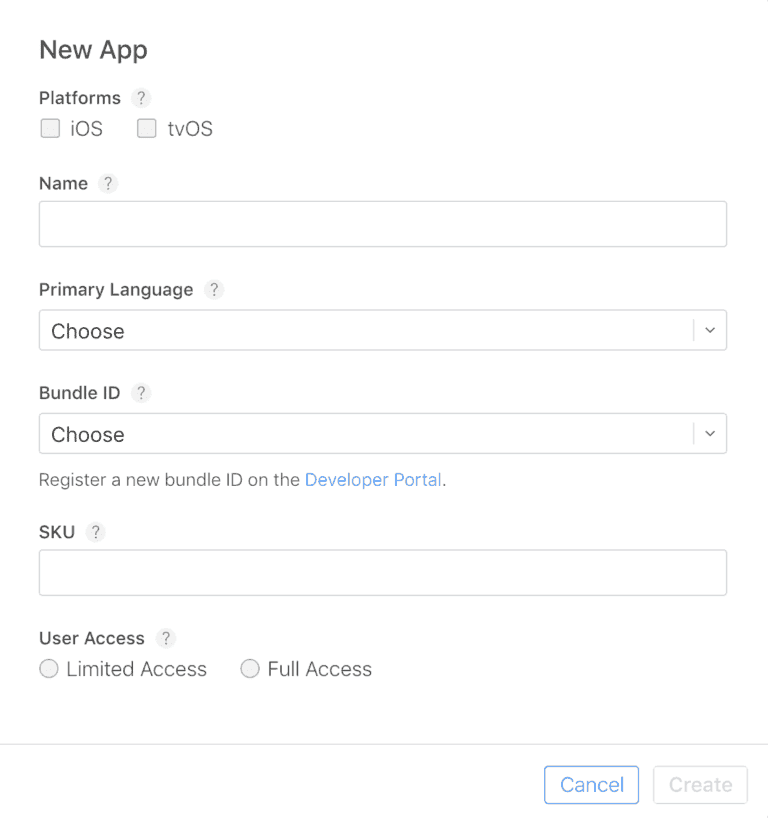
- Enter the requested information.
- Under "User Access", choose between "Limited Access" or "Full Access". If you select limited access, choose the users who will be able to access your app.
- Click "Create".
- Go to "App Information" to complete the product sheet with the information gathered in step 2.
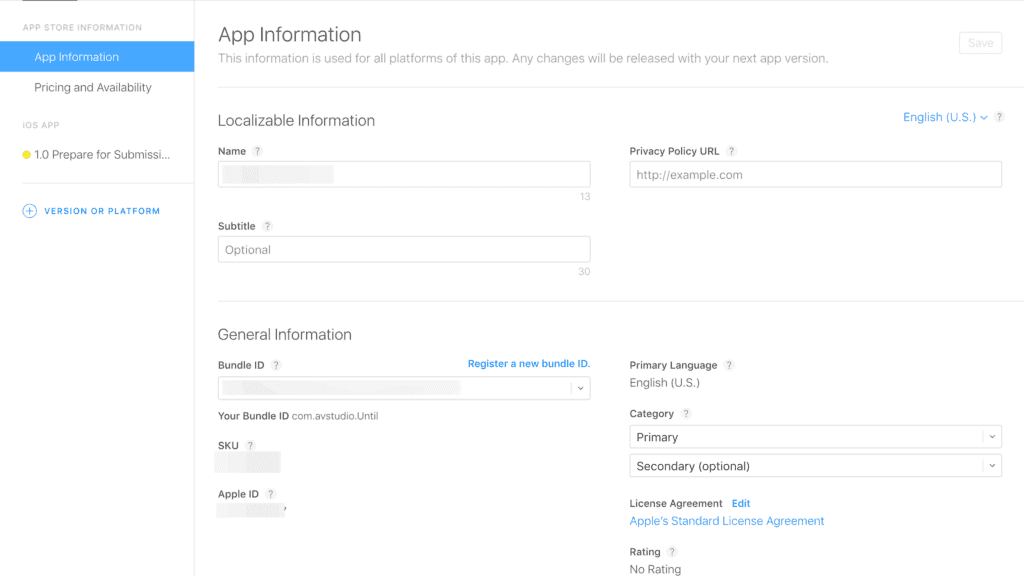
Your app now appears in your dashboard with the status “Prepare for Submission.” You can select “App Information” to edit it, add data, or remove certain elements.
And now? Regularly check the status of your app. Apple may ask you for additional items before fully approving your software. Once your app is ready, a green checkmark appears with the note “Ready for Sale.” That means it is now available on the store and you can promote it to your prospects and customers…
Our tip
There you go, you now know how to publish an app on the Apple Store!
If you need help finalizing your app before publishing it on the Apple Store, hire a freelance Swift developer by posting an ad on Codeur.com.